Are you ready to revolutionize your cycling experience and learn how to convert bike to electric? Electric bikes offer a perfect blend of convenience and performance. Instead of purchasing a new e-bike, you can convert your existing bike to electric, making it a budget-friendly and eco-conscious choice. In this guide, we’ll take you through the process of converting a regular bike into an electric one, highlighting the tools you need, the benefits of converting, and how much does it costs to convert a bike to an electric.

H2: Why Convert Bike to Electric?
Before diving into how to convert a bike to electric, let’s explore the benefits that make this an attractive option. Converting a bike to electric is cost-effective, allowing you to upgrade without buying a new bike. It adds convenience by providing motor assistance for longer distances and hilly terrain, making commuting easier.
It’s also eco-friendly, reducing your carbon footprint compared to gas-powered transport. Additionally, converting offers customization, letting you choose the best kit for your needs, such as speed, battery life, or off-road capabilities.

H2: What to Prepare Before Converting a Bike to Electric?
Converting a regular bike into an electric one requires a bit of preparation. The right tools, a quality conversion kit, and a basic understanding of bike mechanics are essential. Below, we’ll discuss what you need before you start the conversion.
H3: Prepare Tools
The first step in converting a bike to electric is gathering the necessary tools. Here’s a list of what you’ll need:
- Wrench set (for loosening and tightening bolts)
- Allen keys (for handling screws on the frame)
- Screwdrivers (flathead and Phillips)
- Wire cutters (for managing cables)
- Electrical tape (to secure wires)
- Grease (to reduce friction between moving parts)
Having these tools on hand will ensure that you can complete the installation of the conversion kit smoothly. If you don’t already have them, consider purchasing a bike toolset to simplify the process.
H3: Choose the Best Conversion Kit
The key component in learning how to convert bike to electric is selecting the right conversion kit. There are many conversion kits available, and choosing one that suits your needs is critical. A standard conversion kit includes:
- Motor: This is typically attached to the rear or front wheel of your bike.
- Battery: The battery powers the motor and can be mounted on the down tube, rear rack, or inside a custom carrier.
- Controller: This manages how much power the motor delivers and helps control speed and power levels.
- Throttle: Some kits come with a throttle, allowing you to engage the motor without pedaling.
When asking yourself, "how can I convert my bike to electric?"— it’s essential to start by choosing a conversion kit that’s compatible with your bike's specifications. It’s recommended to invest in a high-quality kit for durability and reliability. For instance, kits that include a lithium-ion battery are popular for their longer lifespan and fast charging times.
H2: How to Convert a Regular Bike to an Electric Bike?
Once you’ve gathered your tools and selected your conversion kit, it’s time to start the conversion. Below is a step-by-step guide on how to convert a regular bike to an electric bike.
H3: Step 1: Selecting the Right Bike
The type of bike you use will impact your conversion process. It’s best to choose a bike with a sturdy frame and enough space for components like the motor and battery. If your bike already rides smoothly and you’re comfortable with it, it’s likely a good candidate. When choosing a bike:
- Look for a large front triangle, as it offers space to mount the battery.
- Ensure the bottom bracket is of standard size to accommodate the motor easily.
- Wider tires can help with a smoother ride, so bikes with ample fork space are ideal.

H3: Step 2: Choosing the Motor and Battery
There are two main motor types to consider: hub motors and mid-drive motors.
- Hub motors are typically installed in the wheels (either front or rear) and are simpler to install.
- Mid-drive motors are mounted near the bike’s pedals, offering more balanced power but a slightly more involved installation process.
When it comes to the battery, most riders opt for 48v as it balances power and efficiency, but the choice depends on how much range and power you need. Higher voltage batteries tend to be heavier but provide more power.
H3: Step 3: Preparing Your Bike
To start, you’ll need to remove some parts like the pedals and crankset, especially if you’re going for a mid-drive motor setup. For a hub motor, you’ll replace the front or rear wheel with the motorized version provided in the kit.
H3: Step 4: Installing the Motor
Once the bike is prepared:
- For Hub Motors: Remove the existing wheel and replace it with the motorized wheel. Be sure the motor connections are positioned to avoid water damage.
- For Mid-Drive Motors: The motor replaces the bottom bracket, so remove it and secure the motor in its place. Follow the instructions in your kit closely to ensure proper alignment.
H3: Step 5: Attaching the Battery
Mount the battery securely to your bike’s frame. Most people use the space where a water bottle holder would typically go. Ensure it’s mounted tightly to prevent any movement while riding, and connect it to the motor controller.
H3: Step 6: Installing the Controller and Display
Find a spot on the bike’s frame to attach the motor controller, typically near the bottom of the frame or under the seatpost. For the display, mount it on your handlebars so you can easily see your speed, battery life, and other important metrics while riding.
H3: Step 7: Wiring the Components Together
Now it’s time to connect the motor, battery, controller, and display. Most kits will provide a wiring diagram to help you ensure everything is properly connected. After wiring, secure the cables neatly with zip ties, making sure they don’t interfere with your bike’s moving parts.
H3: Step 8: Installing the Pedal Assist Sensors
Many conversion kits come with sensors that detect when you’re pedaling to provide motor assistance. These sensors usually attach to the crank or pedal arms and connect to the controller.
H3: Step 9: Brake Sensor (Optional)
Some kits include brake sensors that automatically cut off motor power when you brake. If your kit includes this, install it according to the instructions, usually on the brake levers.
H3: Step 10: Reassemble the Drivetrain
Reattach your bike’s pedals, crankset, and chain. Ensure the chain tension is correct and that everything is aligned properly for smooth riding.
H3: Step 11: Testing and Adjusting
Before riding, make sure all connections are tight and functioning correctly. Check that the brakes work, and the motor disengages when the brakes are applied. Inflate your tires to the correct pressure, and fully charge the battery.
H3: Step 12: Take It for a Spin
Take your bike for a test ride in a safe area. Start by pedaling without motor assistance to get a feel for the bike’s handling. Gradually turn on the motor and test how it feels with different power levels. Ensure the motor responds well to your pedaling and that everything operates smoothly.
H3: Step 13: Make Final Adjustments
After your first ride, fine-tune the brakes, shifting, and motor settings to suit your preferences. Double-check that all cables are secure, and clean up any loose ends.
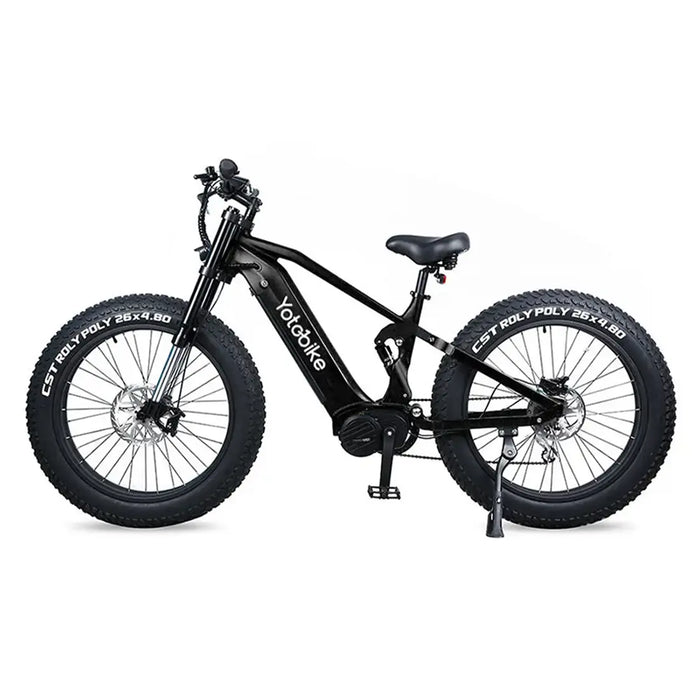
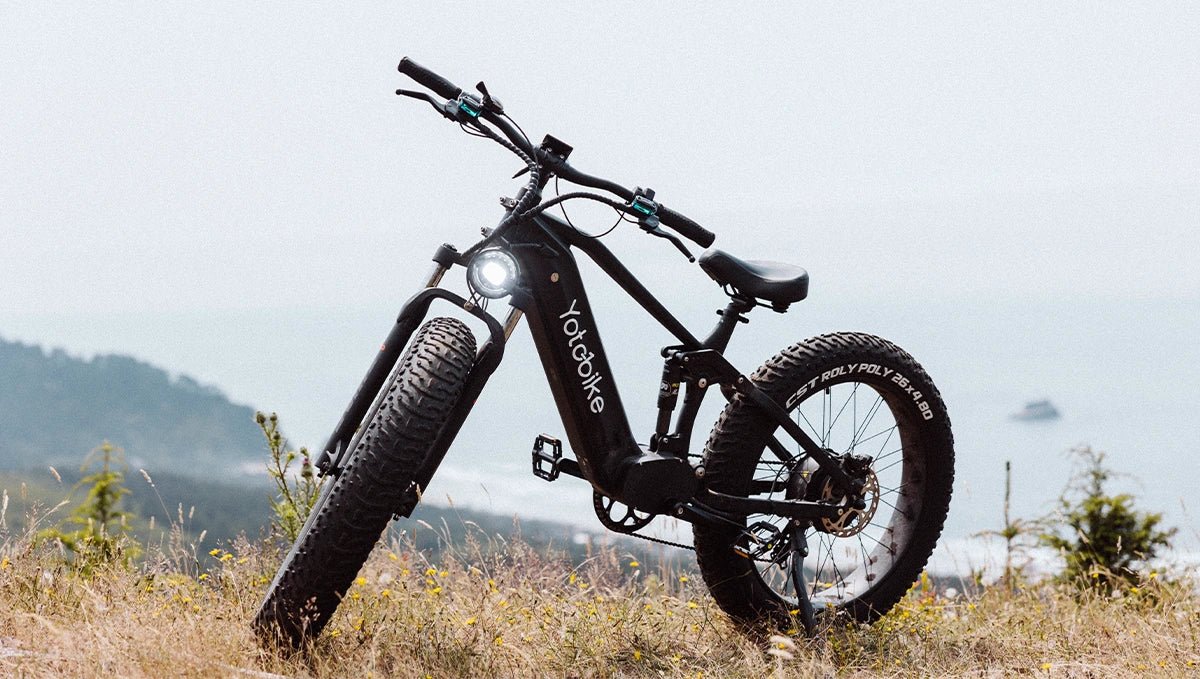
With these steps, you’ve completed your journey of how to convert a regular bike to an electric bike. The transformation not only enhances your biking experience but also extends your range, making it a more efficient way to commute or enjoy leisure rides. If you're considering skipping the conversion process and buying a pre-built electric bike, check out electric bike for adults options like those available from Yotobike, which offer assembled and ready-to-ride models.
H2: Conclusion
Converting a bike to electric is a cost-effective, eco-friendly, and efficient way to upgrade your cycling experience. By learning how to convert bike to electric, you can enjoy the benefits of increased speed, reduced effort, and longer-range commutes.
If you’re not sure whether converting your current bike is worth it, consider the advantages: retaining the design of your favorite bike while gaining the power and flexibility of an electric motor. The cost of a conversion is also far lower than buying a new electric bike, making it an excellent choice for budget-conscious cyclists.
H2: FAQs
H3: How much does it cost to convert a bike to electric?
The cost to convert a bike to electric depends on the quality of the conversion kit you choose. On average, it can range from $700 to $1,800. More affordable kits are available, but opting for a higher-end kit ensures better performance, durability, and a more efficient battery, making it worth the investment in the long run.
H3: Is it worth it to convert a bike to an eBike?
Absolutely. If you love your current bike but want the added benefits of electric power, it’s definitely worth converting. You’ll save money compared to buying a new electric bike, and the installation process is fairly simple. Additionally, a converted eBike offers you flexibility, allowing you to use pedal power or rely on the motor for assistance on longer rides.
H3: Are eBike conversion kits legal?
Yes, eBike conversion kits are legal in most areas. However, it’s essential to check local laws regarding eBikes, as some regions have restrictions on motor power and maximum speed. Generally, converted bikes need to comply with eBike regulations, which may limit their use on certain roads or bike paths if they exceed speed limits.

