Owning an eBike is an amazing way to get around, but like any bike, it requires regular maintenance. One critical area of upkeep is your braking system. Over time, your eBike brakes may start feeling loose or less responsive. If this happens, it's time for an adjustment. Learning how to adjust brakes on eBike might sound tricky, but with the right guidance and tools, you can do it like a pro. Let's dive into the steps and techniques that will get your eBike’s brakes working perfectly again.

Signs That Your E-bike Brakes Need Adjustment
Before we get into knowing how to change brake pads on eBike, it's essential to recognize the signs that indicate your eBike's brakes need some love. Brakes wear down gradually, but certain symptoms tell you when it's time for an adjustment.
- Spongy Lever: Does your brake lever feel soft or squishy when you squeeze it? That's a classic sign of air in the hydraulic system or a loose cable in mechanical brakes.
- Long Lever Pull: If you find yourself needing to pull the brake lever further and further towards the handlebar before the brakes engage, it's a good indicator that something's amiss. This usually points to a need for cable adjustment or, in the case of hydraulic brakes, a possible fluid leak.
- Worn-Out Pads: Take a peek at your brake pads—if they look thin or unevenly worn, it's time for a replacement and likely a brake adjustment too.
- Weak Stopping Power: Noticeably longer stopping distances or a general lack of "bite" when you apply the brakes? That's a clear sign that your brakes need some attention.
- Dragging or Rubbing: If you hear a scraping sound or feel resistance when pedaling, even with the brake levers released, your brakes might be dragging on the rotor. This calls for an adjustment to ensure smooth and efficient riding.

Remember, ignoring these signs can compromise your safety and lead to more serious issues down the line. Hence, it is important to know how to change brake pads on electric bike.
Tools Needed for E-bike Brake Adjustments
Having the right tools is key to making the brake adjustment process smooth and easy. The good news is that you don’t need anything fancy or expensive. Here’s a list of common tools you’ll need to adjust your e-bike brakes:
- Allen Wrenches (Hex Keys): Most eBike components, including brakes, are held together with hex bolts. Grab your trusty set of Allen wrenches—you will likely need a few different sizes to tackle those brake bolts. Typically, a 4mm or 5mm wrench will be used for brake adjustments.
- Screwdrivers: A Phillips or flathead screwdriver may be needed for fine-tuning your brake lever adjustments.
- Torque Wrench: For hydraulic brakes, a torque wrench makes sure that the bolts are tightened as per the specifications instructed by manufacturer, ensuring they are tightened to the perfect amount.
- Brake Cleaner or Rubbing Alcohol: Keeping your brake rotors clean is essential for optimal performance. You can use brake cleaner or rubbing alcohol to remove dirt, oil, or grease that may have built up on the rotors.
- Clean Rags: You will need rags to clean parts of your bike and to wipe away excess dirt or grease during the adjustment process.
With your tools ready, it's time to roll up your sleeves and learn how to adjust brakes on an e-bike for both mechanical and hydraulic systems.
How to Adjust Brakes on an E-bike?
There are two main types of brake systems on eBikes: mechanical disc brakes and hydraulic disc brakes. Each requires a different approach, so let's break down the process for each.
Adjust Mechanical Disc Brakes
Mechanical disc brakes rely on a trusty cable to pull the brake caliper into action, creating that stopping power you need. This system is simpler and easier to adjust than hydraulic brakes, but it still requires some know-how.
-
Inspect the situation:
- Start by checking the gap between the brake lever and the handlebar when you squeeze the lever.
- You should have about a two-finger gap. If the lever is too close to the handlebar or if the brakes are rubbing against the rim, it’s time for some adjustments.
-
Make minor adjustments:
- Use the barrel adjusters on the brake lever for initial fine-tuning.
- If the lever is too close, turn the barrel adjuster on the brake lever clockwise. This will tighten the brake cable slightly and move the lever away from the handlebar.
- If the lever feels too loose, turn the barrel adjuster counterclockwise to loosen the cable slightly. This will bring the lever closer to the handlebar.
- This method adjusts the cable tension just a bit.
-
Open up the brake:
- If the barrel adjustments don’t work, you’ll need to directly adjust the brake cable.
- Use a 5 mm Allen wrench to loosen the bolt that clamps the brake cable to the brake mechanism. This will allow you to adjust the cable tension more precisely.
-
Pull the brake cable:
- With the bolt loosened pull the brake cable tight so that the brake pads are close to the rim.
- The pads should be near the rim but should not rub against it to avoid noise and resistance.
-
Secure the brake cable: While holding the brake cable in the tight position:
- Use your Allen wrench to re-tighten the clamp bolt. This will secure the cable in its new position and maintain the adjusted tension.
-
Apply finishing touches:
- Adjust the barrel adjuster again to ensure the brake pads no longer rub against the rim.
- This fine-tunes the brake tension to achieve the best performance.
-
Test the brakes:
- To ensure everything is working correctly twist the throttle and engage the brake lever.
- The brakes should feel firm and responsive.
- If the lever is still too tight or too loose, repeat the previous steps until the brakes are properly adjusted and quiet.
-
Consider brake pad replacement:
- If your brakes still aren’t performing well after adjustments check the brake pads. If they look a bit worse, then it's probably time to swap them out for a fresh set.
- Generally, brake pads should be replaced once a year, or more frequently if you ride often.
- Proper maintenance of brake pads is crucial for your safety.
By following these steps, you will ensure your mechanical disc brakes are properly adjusted, providing you with a safer and more enjoyable ride.
Adjust Hydraulic Disc Brakes
Hydraulic disc brakes offer exceptional stopping power, but they need proper adjustment to perform at their best. Follow this step-by-step guide to ensure your hydraulic disc brakes are perfectly tuned for a safe and smooth ride.
1. Check the Wheel Position
Before making any adjustments to the brakes, make sure the wheel is correctly positioned:
- Turn Off Your Bike: Ensure your e-bike is powered down, remove the battery, and press the Power button to discharge any remaining power.
- Identify the Brake: Determine whether you’re working on the front or rear brake. The left brake lever controls the front brake, while the right lever controls the rear.
- Check Wheel Seating: Verify that the wheel is fully seated in the dropouts. It should be centered and the quick-release lever or axle nuts should be properly tightened. If your wheel isn't sitting snugly in its place, it can throw off the alignment, causing the brake rotor to brush against the brake pads, resulting in that annoying rubbing sound.
For the Front Wheel:
- Open the quick-release lever.
- Turn the thumbnut counterclockwise to create space for the fork dropouts.
- Align the wheel so the axle is centered in the dropouts. Lower the bike onto the wheel axle.
- While keeping that quick-release lever open, give the thumbnut a clockwise twist. Keep turning it until the lever naturally sits parallel to the ground, without you needing to hold it there.
- Close the quick-release lever fully, applying enough pressure that it leaves an imprint on your hand.
For the Rear Wheel:
- Use an 18 mm wrench to slightly loosen the axle nuts on both sides.
- Adjust the wheel so the axle is level and properly seated in the dropouts.
- Tighten the axle nuts using the 18 mm wrench, following the torque specifications in your Owner’s Manual.
2. Ensure If the Brake Rotor Is Still in Good Shape
Next, ensure the brake rotor is in good condition:
- Inspect Rotor Alignment: Spin the wheel to check for any rubbing between the brake pads and the rotor. The wheel should spin freely with minimal contact.
- Check Rotor True: If needed, place a sheet of paper behind the brake caliper to help assess if the rotor is spinning straight. If the rotor wobbles or is damaged, it may need replacement.
- Stop the Wheel: Use the brake lever to halt the wheel. Squeeze the left lever for the front brake or the right lever for the rear brake.
3. Center the Brake Caliper
To ensure the caliper is aligned with the rotor:
- Loosen Caliper Bolts: Use a 5 mm Allen wrench to loosen the caliper mounting bolts. Adjust them to allow the caliper to slide smoothly from side to side. Don't remove the bolts completely.
- Squeeze the Brake Lever: Without leaving the brake lever, the caliper will automatically center itself over the rotor.
- Adjust Caliper Position: Adjust the caliper till it is placed at the center of the rotor.
- Tighten Caliper Bolts: While still holding the brake lever, tighten the caliper bolts again until it is tight enough to not move.
- Inspect Alignment: Release the brake lever and spin the wheel to check for any rubbing. Ensure both brake pads are parallel to the rotor. Use a sheet of paper underneath the caliper to help see any gaps.
- Readjust if Necessary: If rubbing persists, slightly loosen one bolt at a time and readjust the caliper until the brakes operate smoothly. Torque the caliper bolts to the specifications in your Owner’s Manual.
4. Adjust the Brake Lever Reach
Finally, fine-tune the brake lever reach to your preference:
- Locate the Adjustment Screw: Use a 2 mm Allen wrench to find the small screw on the inside of the brake lever.
- Adjust the Reach: Turn the screw counterclockwise to increase the lever reach or clockwise to decrease it. The lever should be comfortable to reach without being too close to the handlebar grip.
5. Important Safety Tip
Ensure to keep the below minds in mind while working:
- Warning: Avoid touching the brake rotor with bare skin, as it can cause injury or transfer oils that reduce braking performance. Wear protective gloves when working near the braking system.
- Final Check: Ensure that squeezing the brake lever doesn’t cause it to touch the handlebar grip. The brake pads should press firmly against the rotor before the lever reaches the handlebar.
By following these steps, you’ll have your hydraulic disc brakes properly adjusted for optimal performance, ensuring a safer and more enjoyable ride.
Common Brake Adjustment Issues and Solutions
Even after adjusting brakes of your electric bike, you might encounter a few issues. Let's troubleshoot some common hiccups and get you back on track.
Squealing Brakes
Problem: Squealing brakes often result from contamination on the rotor or brake pads.
Solution: Clean the rotor and brake pads using a mild solvent or dedicated brake cleaner. This removes dirt and debris that can cause noise. Additionally, check that the brake pads are properly aligned with the rotor. Adjust their position if needed to ensure even contact, which can help reduce squealing.
Soft or Spongy Brakes
Problem: If your brakes feel soft or spongy, it usually means there are air bubbles trapped in the brake lines.
Solution: Bleed the brakes to remove any trapped air. Make sure to use the correct brake fluid and check that there are no leaks in the system. Proper bleeding will restore firm and responsive brake feel, enhancing your braking performance.
Dragging Brakes
Problem: Brakes that drag or don’t fully release might be caused by misalignment or worn-out brake components.
Solution: First, check the alignment of the brake caliper and adjust it if necessary. If the problem persists, inspect the brake pads for wear and replace them if they’re too thin. Ensuring proper caliper alignment and replacing worn components will help your brakes function smoothly.
Inconsistent Braking Performance
Problem: If your braking feels inconsistent, it may be due to unevenly worn brake pads or damaged rotors.
Solution: Inspect both the brake pads and rotors for signs of wear or damage. Replace any parts that are unevenly worn or damaged. Ensuring that both the pads and rotors are in good condition will help restore reliable and consistent braking performance.
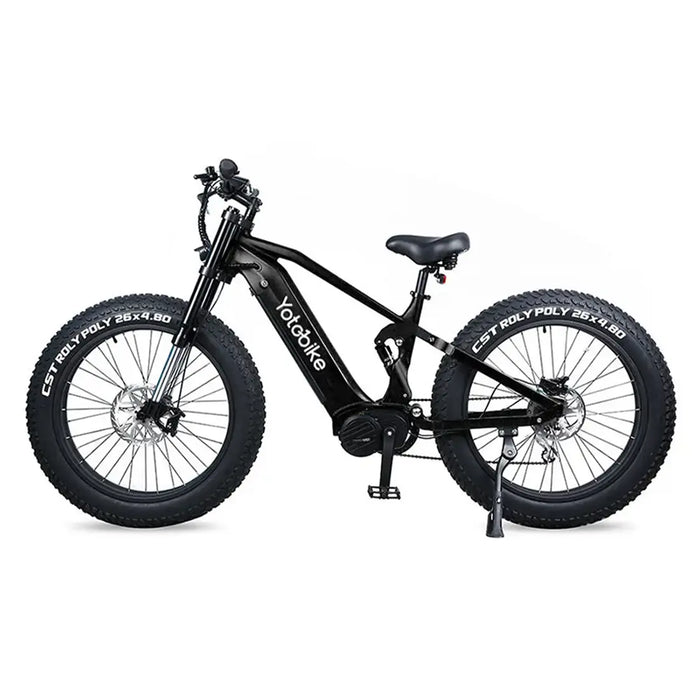
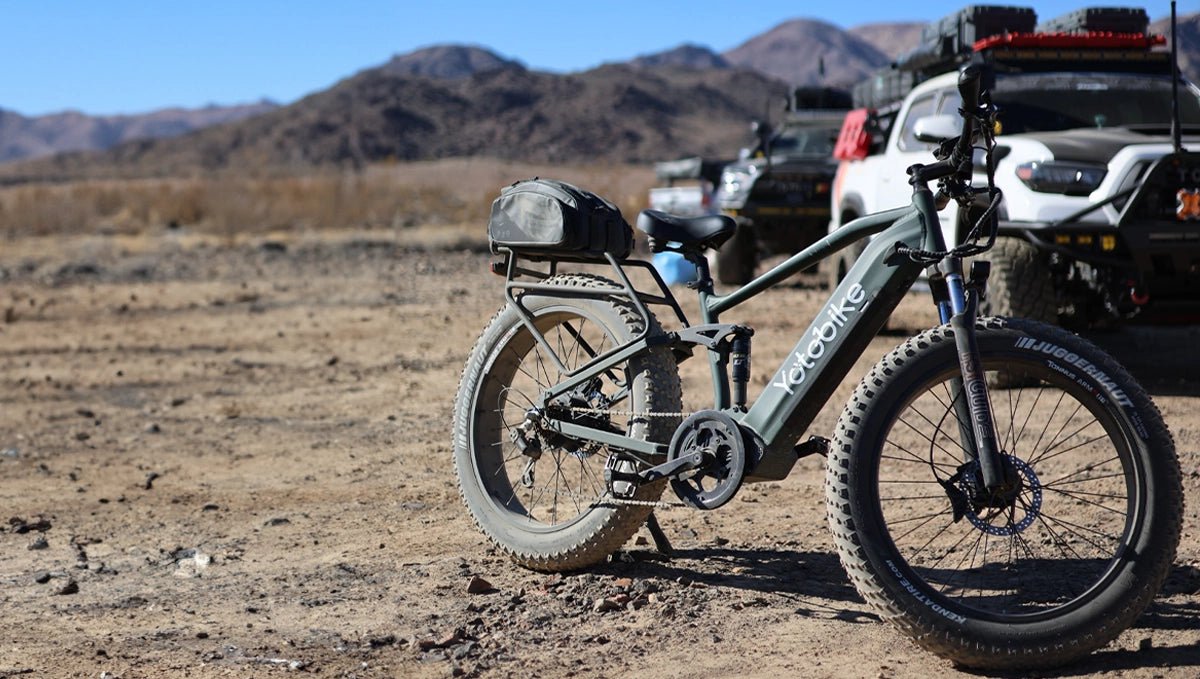
After making these adjustments, your electric bike’s brakes should perform smoothly. However, if you’re riding a powerful model like the Yotobike fat tire electric bike, regular maintenance is crucial to handle its robust performance. With its larger tires and increased weight, proper brake function is essential to ensure a safe and comfortable ride.
Conclusion
Learning how to adjust brakes on eBike is an essential skill that will keep you safe and ensure smooth rides every time. Adjusting brakes properly doesn’t have to be complicated. Remember to regularly check for signs that your brakes need attention, such as squeaky sounds or spongy levers, and use the right tools to fine-tune your system. With a little practice, you will be able to handle brake adjustments like a pro, keeping your eBike in top shape for all your adventures.
FAQs
Is it possible to adjust the brake pedal?
Yes, you can adjust the brake pedal of an e-bike. For mechanical disc brakes, you can modify the lever reach and cable tension. Hydraulic disc brakes typically allow for lever reach adjustments and require ensuring proper brake fluid levels. For rim brakes, adjusting the lever position and pad alignment can help. Always check your e-bike’s manual for specific adjustment instructions.
How often should I adjust the brakes on my e-bike?
You should adjust the brakes on your e-bike every 3 to 6 months. However, if you notice any drop in braking performance or if riding conditions change significantly, inspect and adjust them sooner. Regular check-ups keep your e-bike running smoothly and you riding safely.
Is it normal for e-bikes to have slightly squeaky brakes?
Yes, it's normal for e-bikes to have slightly squeaky brakes, especially when the brake pads are new or if there's minor contamination on the rotors. Squeaking often resolves after the pads have been bedded in or after a thorough cleaning. However, persistent squeaking might indicate other issues like misalignment or worn pads, which should be checked if the noise continues.

